This article covers questions about Solo mode and how to disable your camera and microphone during the broadcast.
Solo Button Overview
The Solo button has several uses:
-
When you have multiple active sources in the studio but want to display just a single source during the broadcast. Using the Solo button will not disable microphones for other active sources so you and your guests will still be heard in the background.
-
When sharing a presentation. This will allow you and/or guests to still be heard while the presentation is displayed. Use this opportunity to discuss and explain your presentation further.
-
To transition smoothly to other sources. If Solo is enabled, new sources pushed to stream will not be displayed to your broadcast automatically. When you want to switch to a new source, click Solo on it to display it on the stream and disable the visual for other sources.
.gif)
How to enable Solo mode
Simply click Solo OFF on any active source. When it changes to Solo ON, that means Solo mode is enabled.

You can also bring the source in Solo mode directly from staging. To do that, just click on the Solo button for this source:
How to disable your camera ('Audio-Only')
You may choose to turn off your camera during the broadcast. Here's how:
-
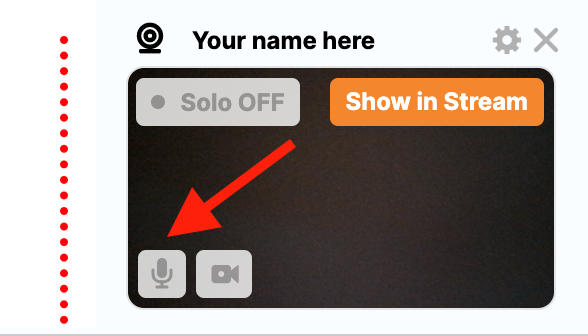
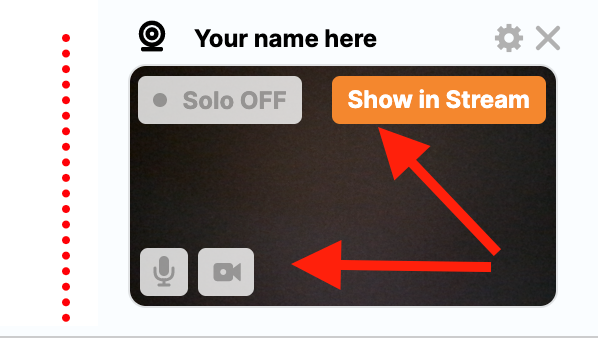
Click Stop Video on the video source. You will notice the button change to Start Video, indicating that the camera has already been disabled.
-
Click Show in Stream to push your microphone to the broadcast, allowing yourself to be heard.
How to disable your microphone
To mute yourself or a guest, simply click Mute on the video source.