Video Tutorials
This guide covers the following points:
-
Video Editor Overview
-
How to Access the Editor
I. Overview
With the Video Editor, you can:
-
Trim unwanted footage at the beginning or end of your broadcast
-
Cut out specific parts for repurposing or promotional use
-
Create personalized video greeting cards for your audience
-
Add text and background to your recordings
-
Share the trimmed clip directly to Facebook or YouTube
-
Determine the highlights of your broadcast through user engagement and activity (comments and reactions)
II. How to Access the Video Editor
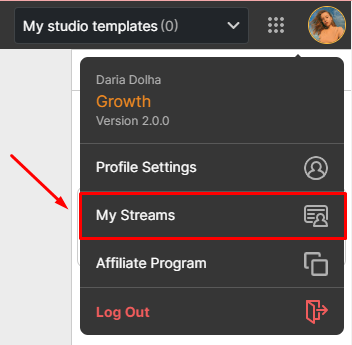
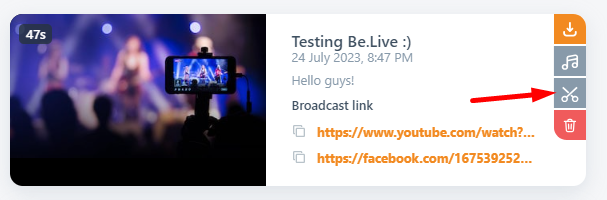
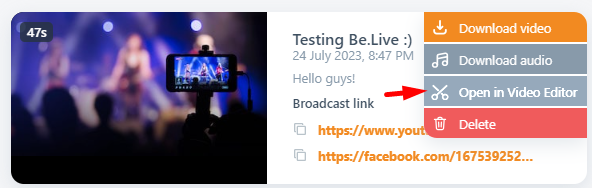
From the Studio, click your profile photo on the upper right corner > My Streams > choose the broadcast you want to edit > choose the Scissors icon > click Open in Video Editor, after that the desired video will be opened in the Editor and you'll be able to edit it. Learn about the main sections of the Video Editor here.
.png)
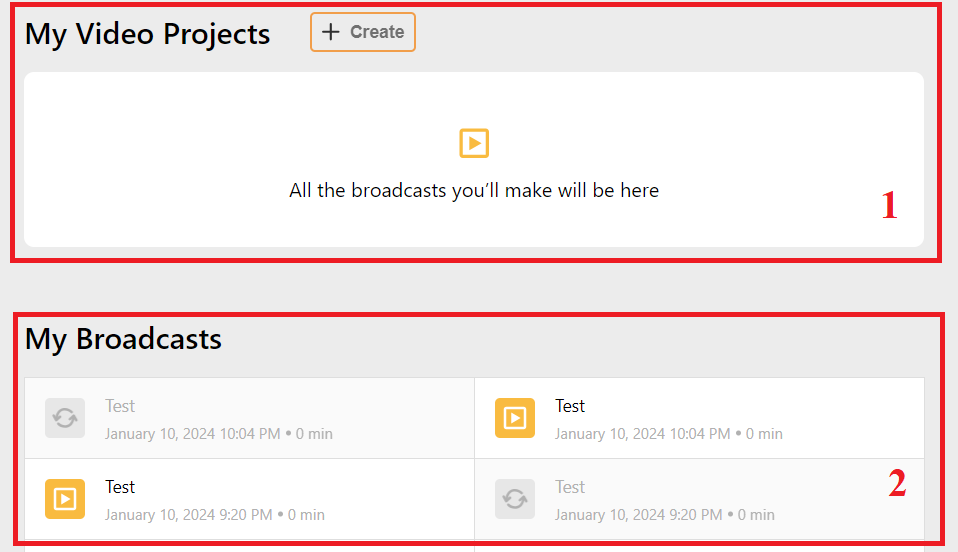
You may also visit the following link: https://editor.be.live/ where you will be directed to the Videos and Broadcasts section:
-
My Video Projects - contains all broadcasts you recorded or edited using the Be.Live Editor
-
My Broadcasts - all your past streams made using Be.Live (Note: Streams that are no longer available for download will be greyed out.)
Media and Editor
Once you select a video or broadcast, you will be directed to the main Media and Editor page. It includes 3 sections: Toolbar, New Video, and Side Panel.
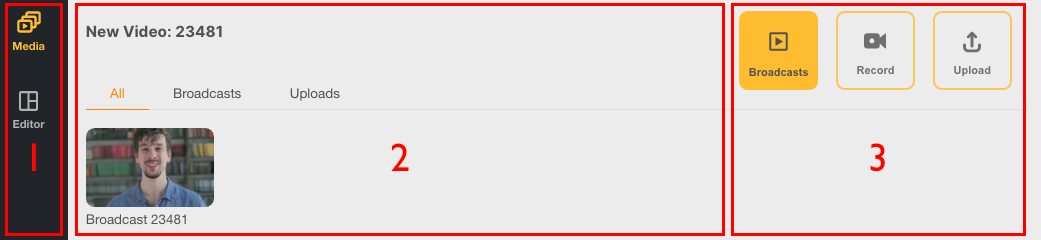
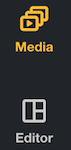
1. Toolbar
-
Media - under this tab, you will find existing broadcasts available for editing as well as recorded videos and uploaded files.
-
Editor - under this tab, you will be redirected to the Editor itself where you can trim and edit your videos with a set of available tools.
2. New Video
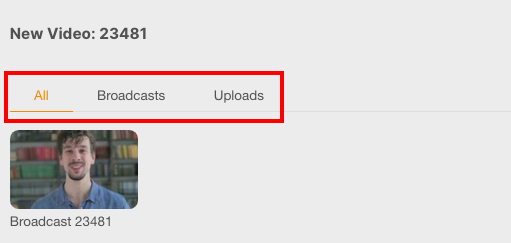
This section contains 3 tabs:
-
All - both existing broadcasts and uploaded files
-
Broadcasts - your past streams that are available for download
-
Uploads - uploaded media
3. Side Panel
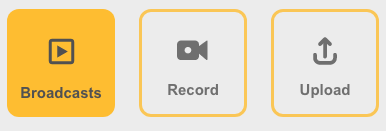
This section includes the following: Broadcasts, Record, and Upload.
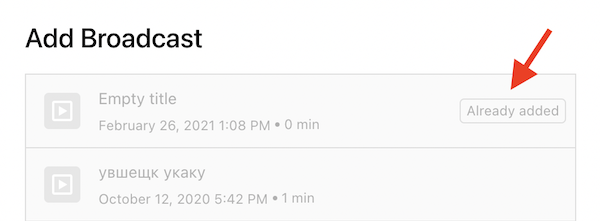
- Broadcasts - allows you to select the broadcasts you want to upload to the Editor. Those already uploaded will be marked with 'Already added'.
-
Record - allows you to record a new video clip
To change the camera and microphone for the recording, click the gear icon:
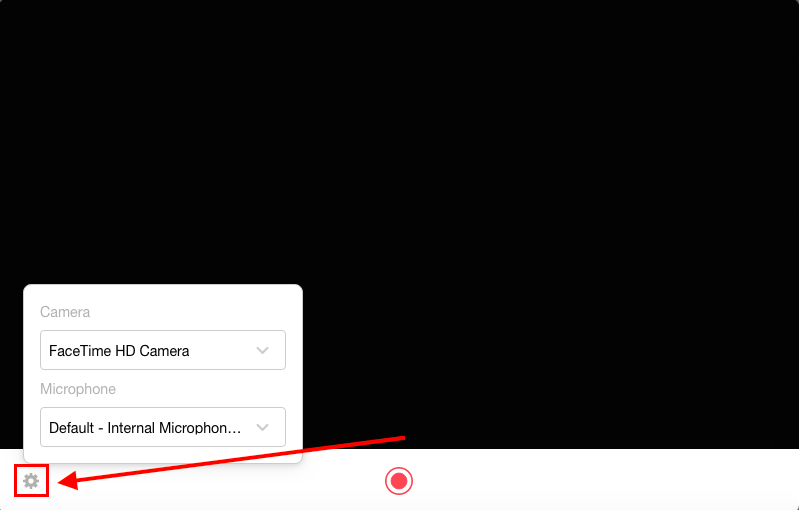
To start recording, hit the Record button.
-
Upload - allows you to upload your own media to the broadcast.
To learn more about the Video Editor sections and how to download or share your video clips, click here: Be.Live Video Editor (Part II)