Note: Screen sharing is only available on Google Chrome.
Video Tutorial
Setting up screen sharing
First, you need to create a broadcast. Full details here.
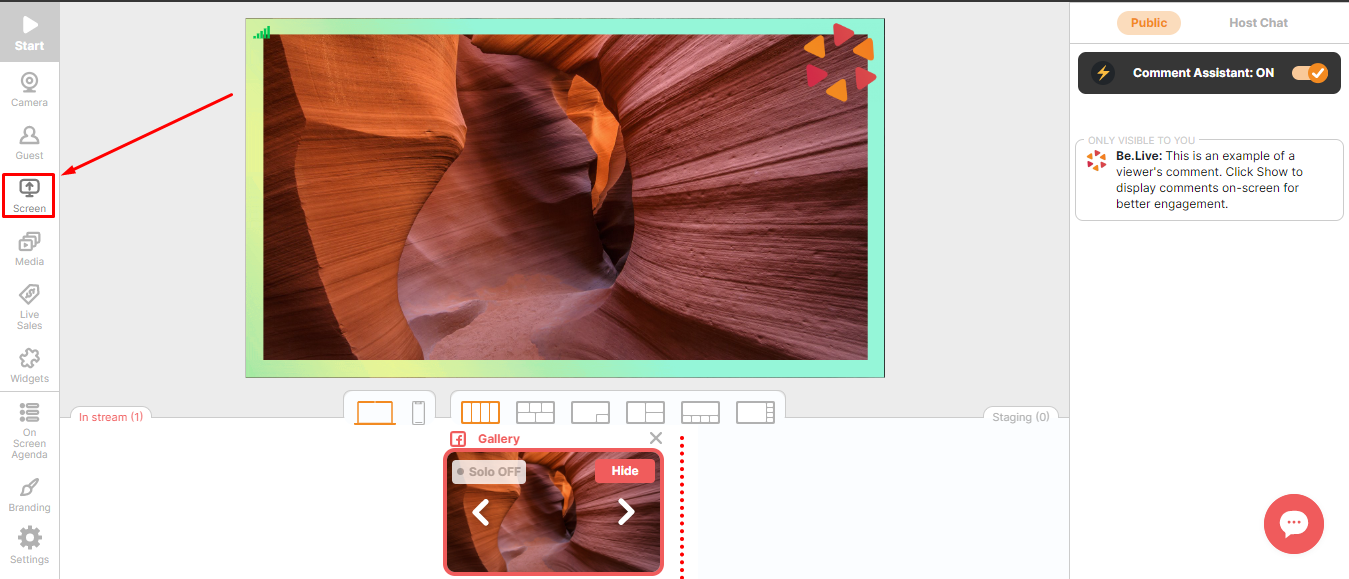
After setting up the broadcast, click Screen from the toolbar: .png)
Screen sharing options
You will see 3 screen sharing options:

Option 1: Share entire screen
This option will bring everything you currently see on your screen to your broadcast (including the status bar, dock panel, pop-up notifications that appear on your screen, etc.). We suggest enabling “do not disturb” on your device when using this option.
Option 2: Share an application window
-
For Mac: You will see all active applications available for sharing. This can be your browser, a Keynote presentation, or any other open app. You need to have the application open, but not on full-screen mode.
-
For Windows: The application window needs to be open and not minimized to the Dock panel. Otherwise, it will not be available for broadcasting.
Related article: How to Share Your Presentation
Option 3: Share a Chrome tab
If you select this option, you will see all tabs currently open in the Chrome window:

Select the best option for you and click Share.
Screen sharing with sound
Screen sharing with sound is possible with the following:
-
Chrome Tab (for Mac)
-
Chrome Tab and Entire Screen (for Windows)
Make sure the tick the Share Audio box to share sound. [Note: It will share sound from your device (audio/video from another website like YouTube, etc.)]

Sharing your screen with the audience
Once you start sharing your screen, you will see this pop-up at the bottom of the screen:

Push the screen to the broadcast by clicking Show in Stream. This will make it visible to your viewers.

To disable screen sharing, click Stop Sharing. Refreshing the studio page will also disable screen sharing.
Mic sound in screen share
For viewers to hear you while using screen share, add your camera source along with screen share to the broadcasting area. This will enable your microphone during broadcast and the audience will hear you.
Simply connect your camera and click on Show in Stream in the top right corner to move it to the broadcasting section.
If you do not want people to see you, simply click Solo in the top left corner of the shared window so the broadcast only displays your presentation.

Alternatively, you may also click Stop Video on your camera source to hide yourself from the broadcast:

You can learn more about Solo Mode and disabling camera here.
Basic Troubleshooting
-
If using macOS Catalina, you must grant your browser access to Screen Recording. Full details here.