If joining from mobile browsers, click here.
Note: You don't need a Be.Live account to join as a guest, but if you want to stream your own shows, sign up to start your 14-day free trial with Be.Live!
Joining the broadcast
After following the invitation link, join the broadcast using only your name, OR by signing in to your Facebook or Google account.
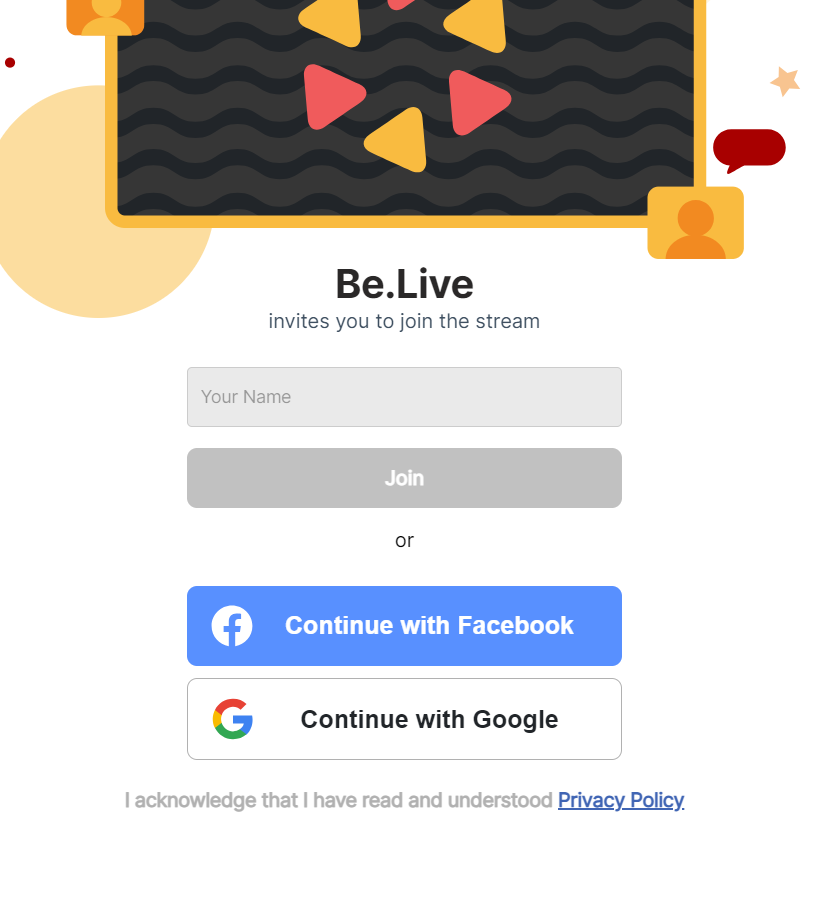
Afterwards, click Connect Camera.

NOTE: Be.Live Studio may request access to your Camera and Microphone. Please click Allow.

Once you have successfully joined the broadcast, the following message will appear:

Navigating the Be.Live studio
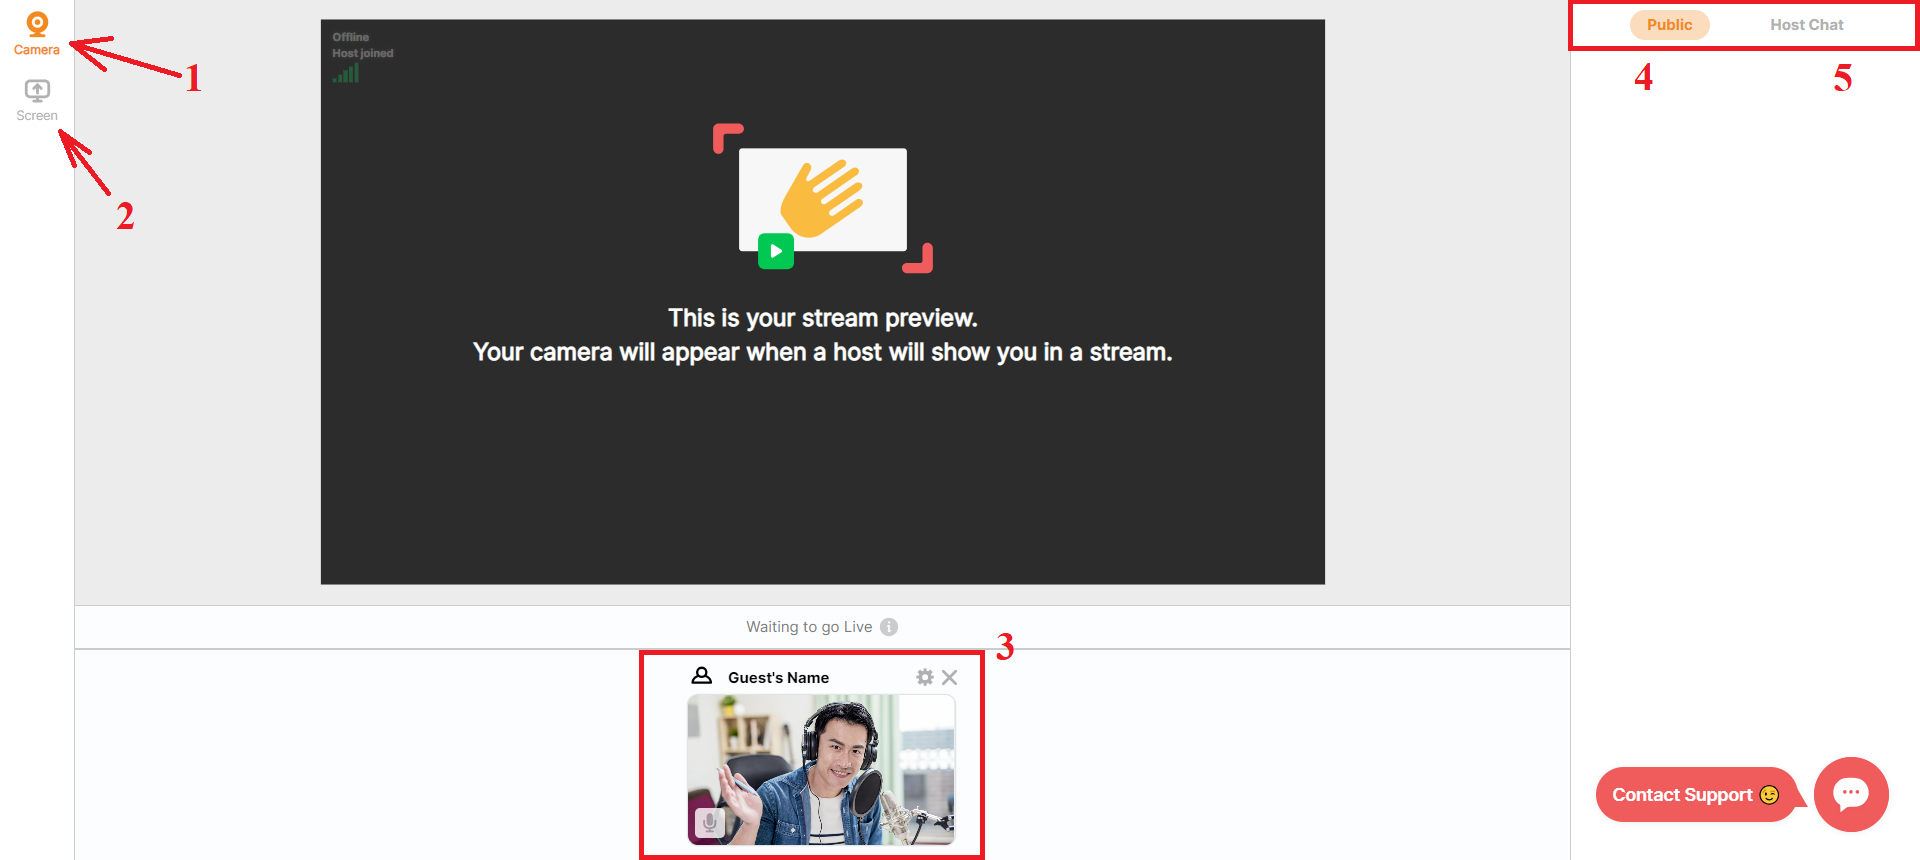
Here's what you'll see in the studio as a guest:
-
Camera - the orange icon indicates that your camera is connected
-
Screen share - this feature is available if the host is on the paid plan
-
Your camera preview
-
Public Chat - comments from Facebook/YouTube viewers will appear here
-
Host Chat - allows you to chat privately with the host and other guests
Start of the broadcast
If you see yourself on the big screen, that means the host already added you to the broadcasting section.
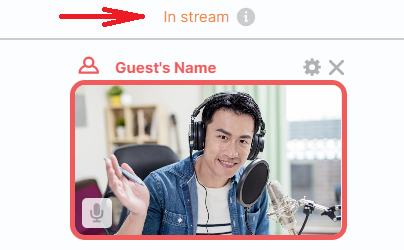
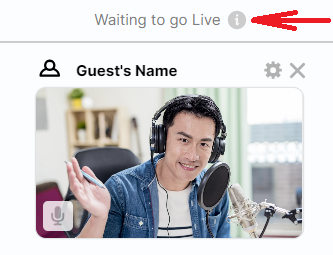
There will be a 3-second countdown before the broadcast officially goes live. If you see the 'In stream' indicator above your camera preview, that means you are live. If you do not, you will see 'Waiting to go Live' instead.
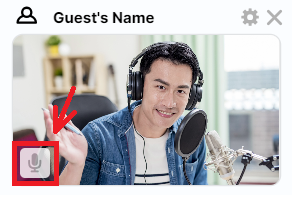
Disabling your mic
To mute your audio, click Mute on your camera preview.
Related articles:
-
How to Check Camera and Microphone Settings Inside the Production Studio
-
If experiencing issues with the camera or mic, check out our article on Guest Troubleshooting.