For Part I of the Be.Live Video Editor guide, click here. For the YouTube video tutorial, click here. You can also check out another tutorial here.
This guide covers the following points:
-
Main Sections of the Video Editor
-
How to Share or Download the Trimmed Clip
I. Main Sections of the Video Editor
Section 1: Video Preview
This section allows you to view parts of your broadcast. Click any point on the timeline to preview that specific frame (indicated by the green marker).
Section 2: Timeline
The timeline displays the entire video clip. Click any section to inspect it more closely in the video preview:
.gif)
Drag the orange sliders to select the new start and end points of the broadcast:

Note: After choosing the new start and end points, you may proceed by hitting Download on the upper right (see more information under How to Share or Download a Clip).
Timeline Controls
You will see a set of controls on the right section of the timeline:

-
Undo - reverses the last action
-
Redo - restores an action previously undone using the Undo button
-
Fit - fits the whole timeline within the screen
-
Zoom Out - decreases the scale of the timeline
-
Zoom In - increases the scale of the timeline for closer inspection (allows you to easily find specific moments in the broadcast)
Section 3: Your Audience Activity
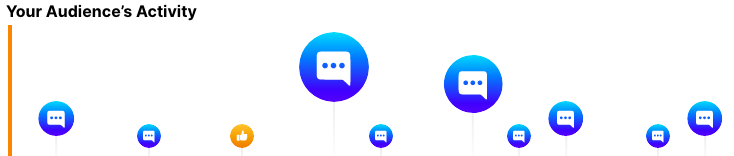
This section displays comments and reactions made by viewers during the broadcast. Comments are indicated by the chat bubble (💬 ) while reactions are indicated by the thumbs up (👍 ). Click any icon to pinpoint the exact moment it was made during your stream.
Section 4: Your Studio Activity
 (1).gif)
This section displays all activity you made in the studio during the broadcast. This includes uploading media (photo/video), layout changes, displaying crawler text and comments on screen, showing agenda, and adding guests.
Clicking on an icon pinpoints the exact moment it was made during the broadcast.
Hide or show specific elements by clicking on them.
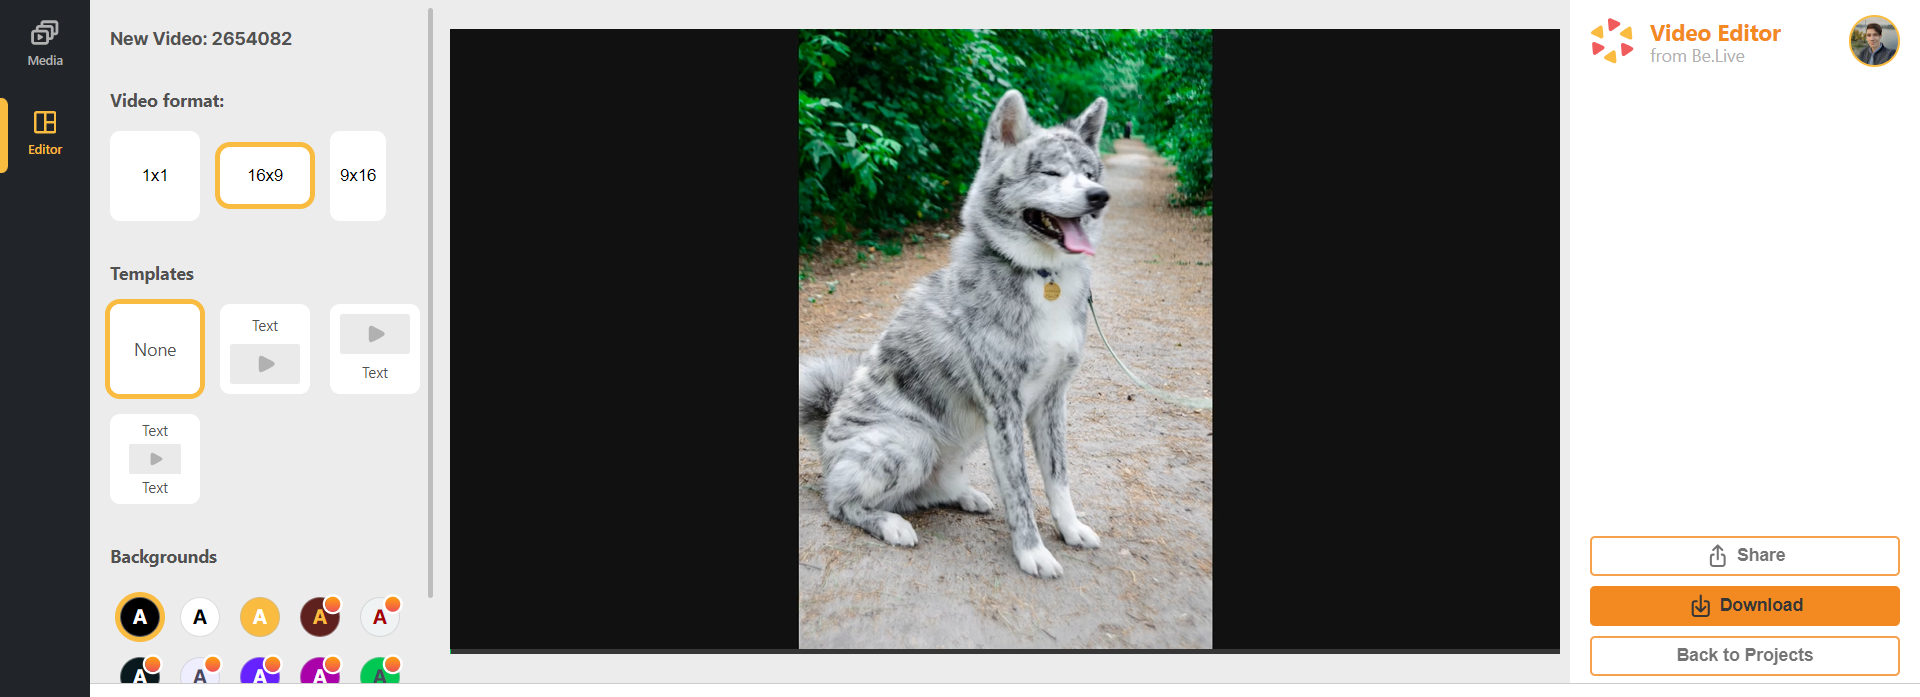
Section 5: Overlay and Background
Add an overlay with personalized text to your video clips and select a background style.
 (5).gif)
II. How to Share or Download a Clip

-
Click Share to share the broadcast directly to your Facebook page. Select your destination > add title and description > Share.
.gif)
-
Click Download in the upper right to download the video in .mp4 format.
Want to create personalized video cards to greet your friends, family or community? Check out our article on How to Create Personalized Video Cards.
Notes
-
The edited broadcast will not overwrite the original video. Original recordings are retained on your broadcasts page.
-
Edited videos are not stored in your account.
-
You may edit broadcasts up to 2 hours long.
-
The resolution chosen in the Video Editor mimics the one you have in the Be.Live studio. If you streamed in 720p, the same resolution will be applied to the video recorded with the Video Editor.
Related blog post: How To Expand Your Social Media Reach With Be.Live Video Editor