RTMP - Real-Time Messaging Protocol can be used as a workaround to go live to Facebook groups.
Facebook Live Streaming Requirements
To go live on Facebook, you need to meet these requirements:
- Your Facebook account must be at least 60 days old
Quick recap of the key steps:
- Set-up a live event on your Facebook Group
- Choose Streaming Software option in the event settings
- Copy Stream Key and Stream URL
- Go to your Be.Live Studio and enter the Key and URL for FB Group destination. Save it.
- Start your broadcast on Be.Live and wait for the image to appear in your Facebook Live Producer
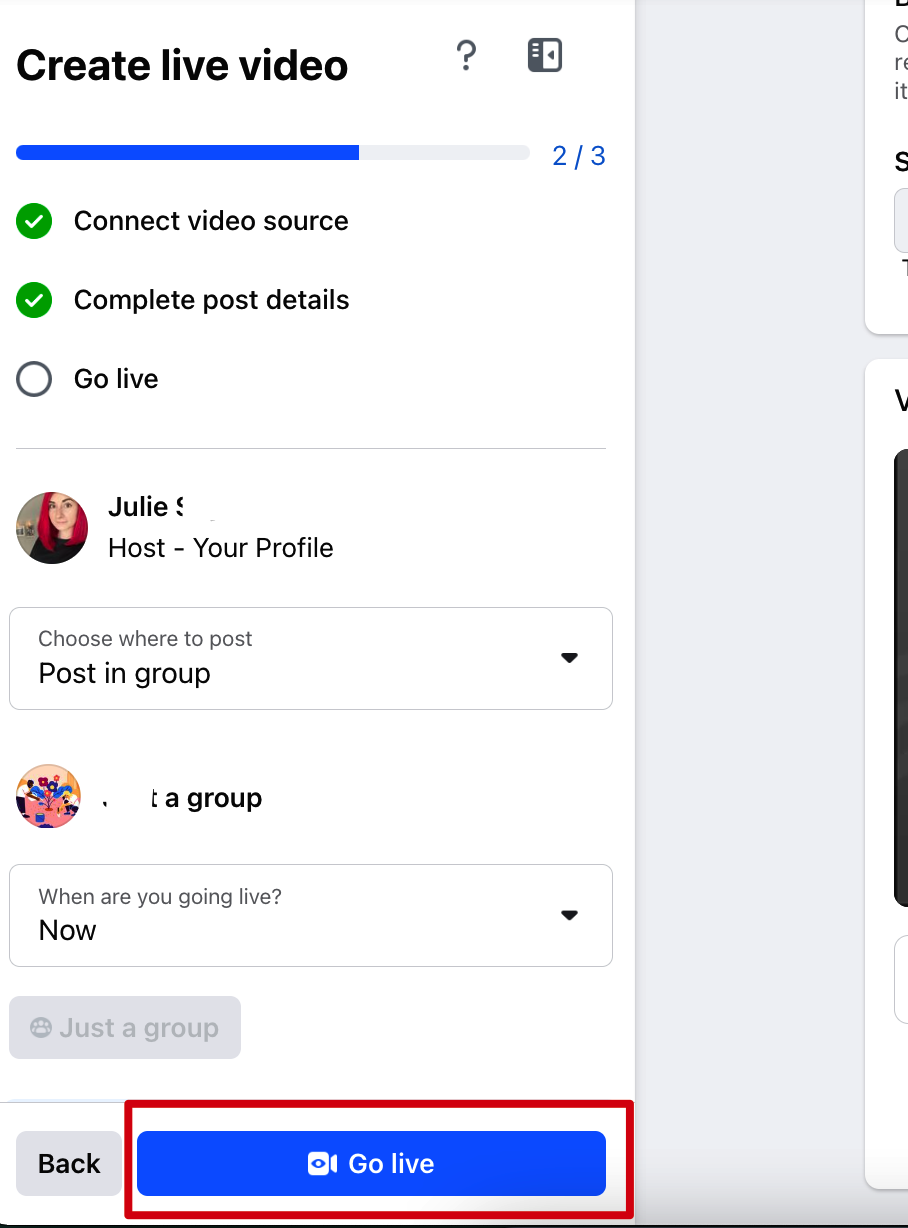
- Press Go Live on Live Producer as well
What you need
To set up RTMP output to your group, you need the following:
-
Server URL - this is the link to the platform you will be broadcasting to (currently pre-filled for your comfort😊)
-
Stream key - this is a unique alphanumeric code that lets your platform know where to stream your video to
You can get these details once you set up a stream in your group.
Setting up a stream in the group
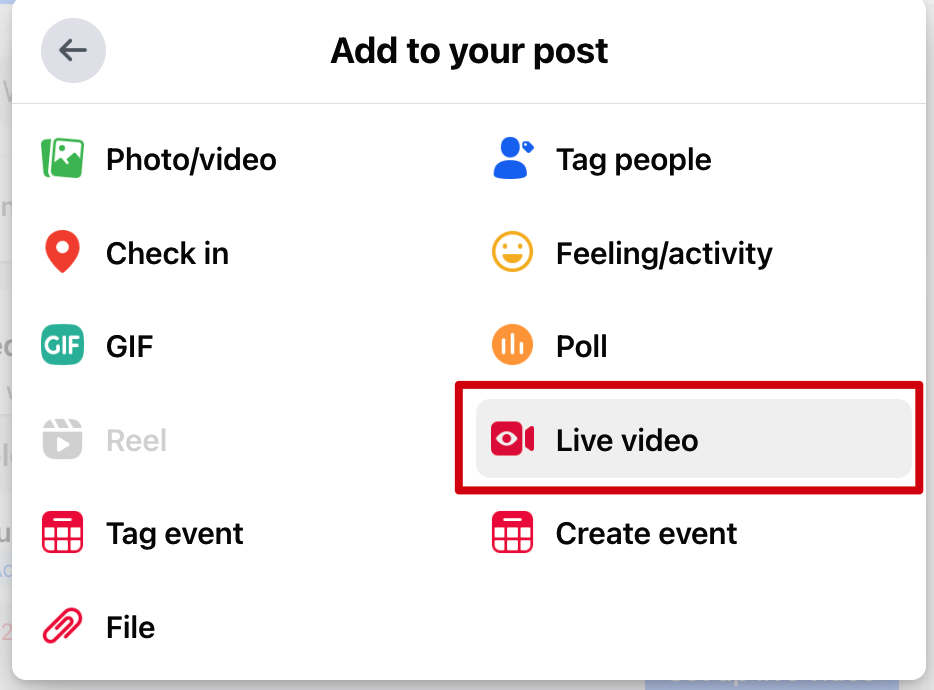
1. First of all, go to your Facebook group (directly on Facebook) and click "Create post" -> Live video:
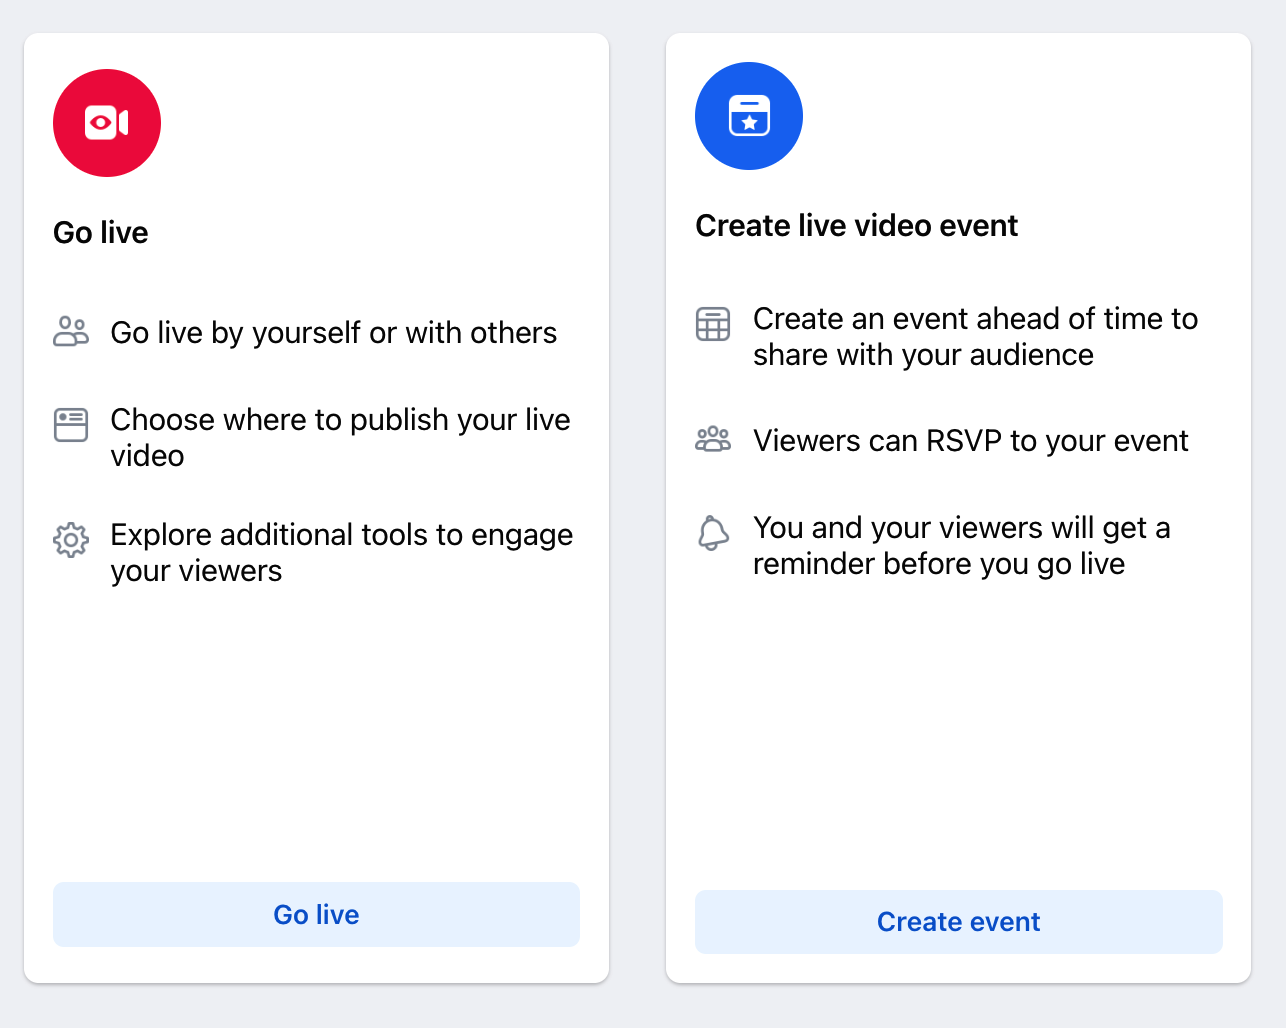
2. On the next step, you can select a regular video or a scheduled stream. Select "Go live" if you want to go live without scheduling.
If you choose the Create event option, you will be redirected to set the event. Use the menu on the left to prepare your event, while checking its preview on the right.
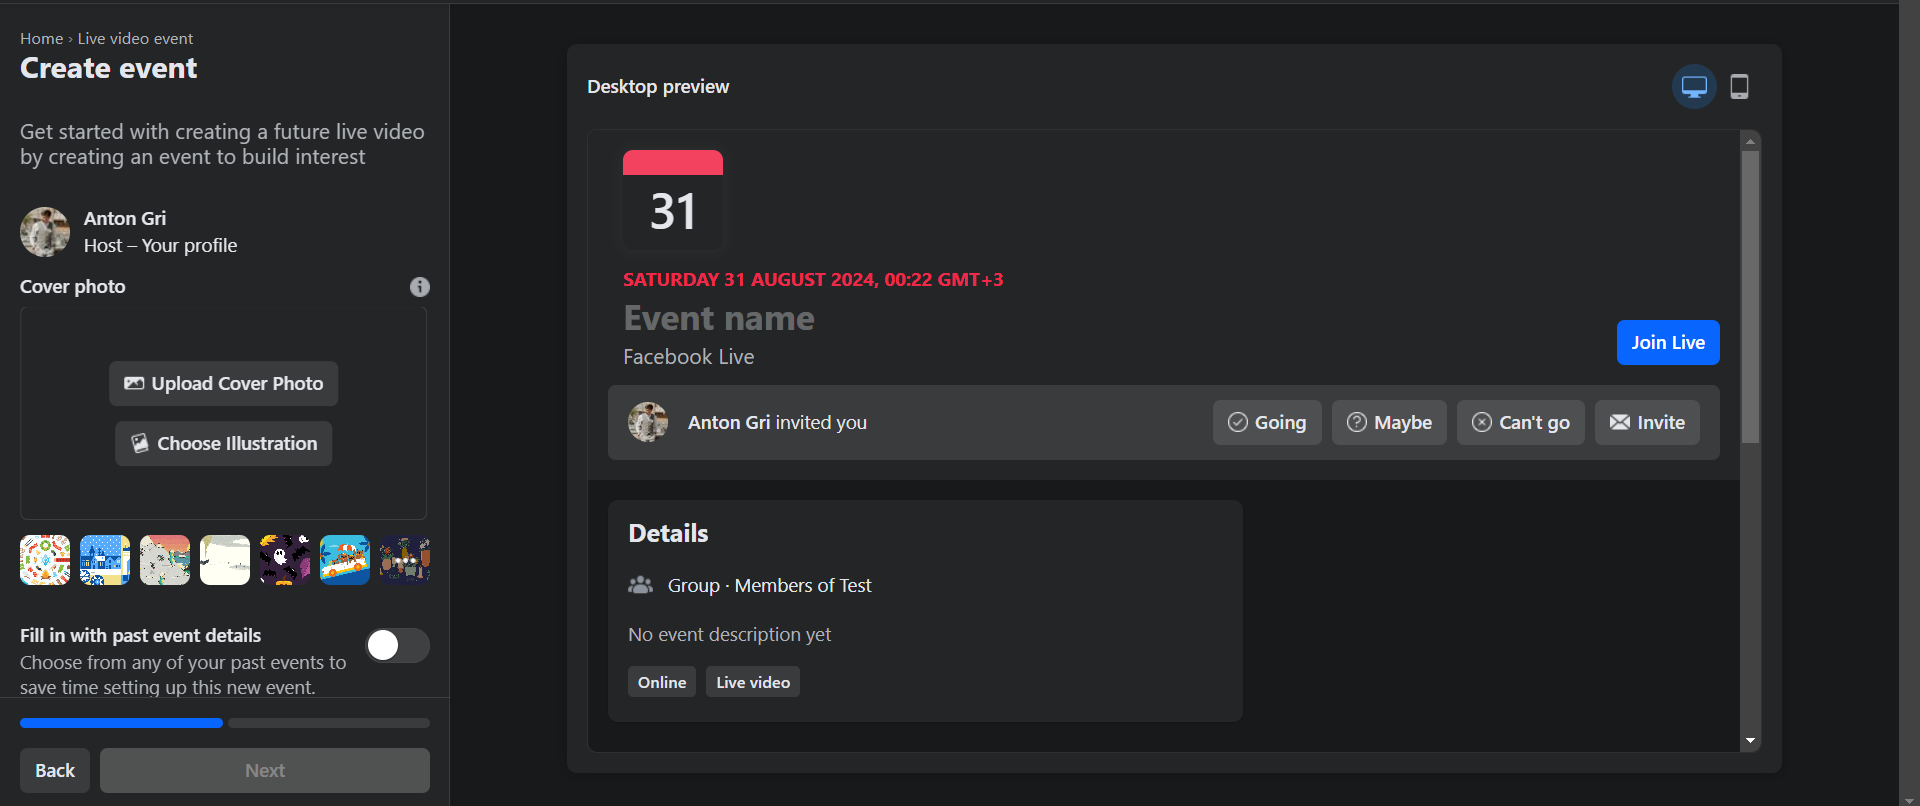
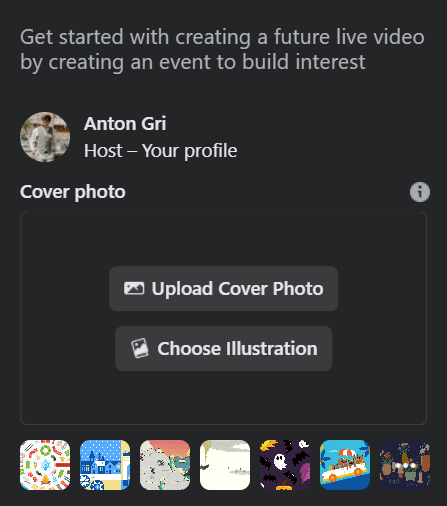
Here you can Upload or Choose your event thumbnail. Please note that this step is optional and you can go ahead without it.
Scroll down the menu on the left and fill in the event's name, date and time of your future broadcast. While the event's name, date and time are required steps, the description is optional and can be skipped.
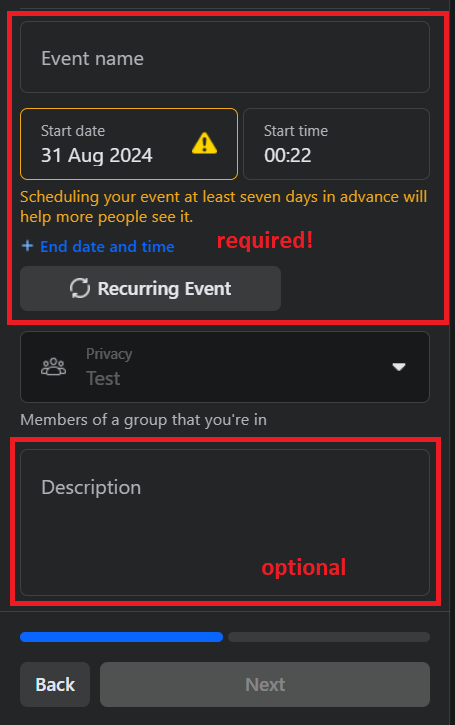
Once done, the Next button will change its color to blue and become active.
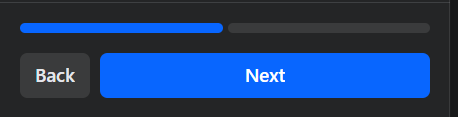
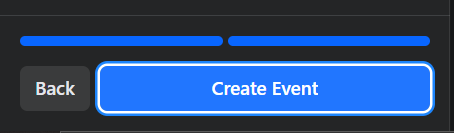
Click Next, then Create Event.
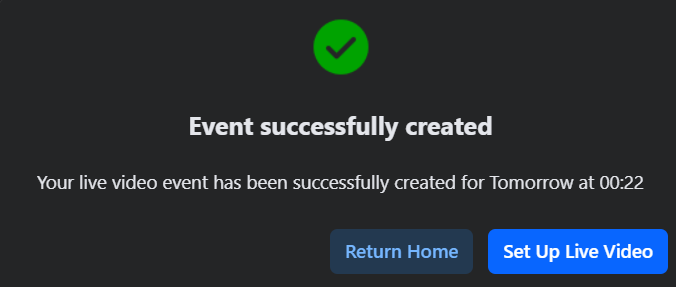
A pop-up appears confirming the creation of your event. Press Set up Live Video to continue immediately or Return Home if you prefer to finish it later.
3. If you weren't redirected to the Live Producer automatically, go to the Events section in your Facebook Group and open your future event by clicking on its name. Press Set up Live Video to open Live Producer.
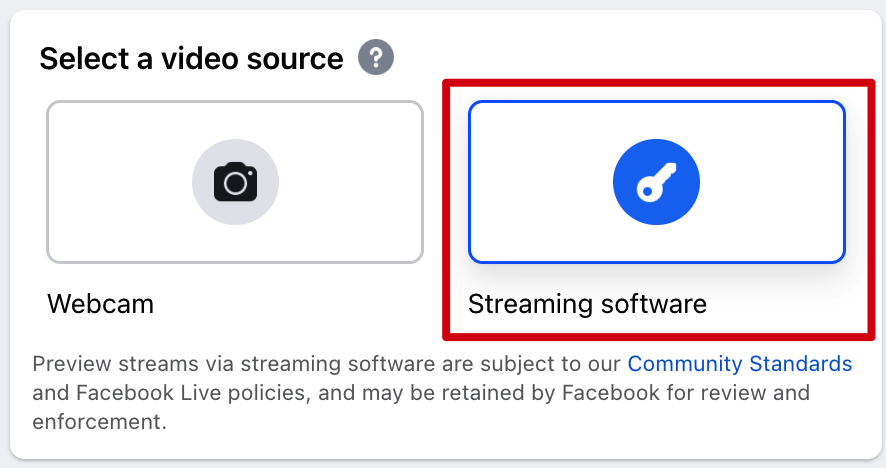
Make sure to choose Streaming software as a video source.
4. In the Streaming software setup, you can find the Server URL and Stream Key.

💡Useful Tip
You can toggle on the Persistent stream key if you only stream to one Facebook Group during one broadcast.
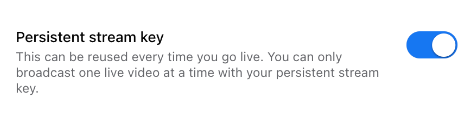
This feature allows you to use the same Stream key for all your events. However, you can only go live on one Facebook group at a time using the persistent key.
If you wish to go live on several Facebook groups simultaneously, make sure to turn this toggle off.
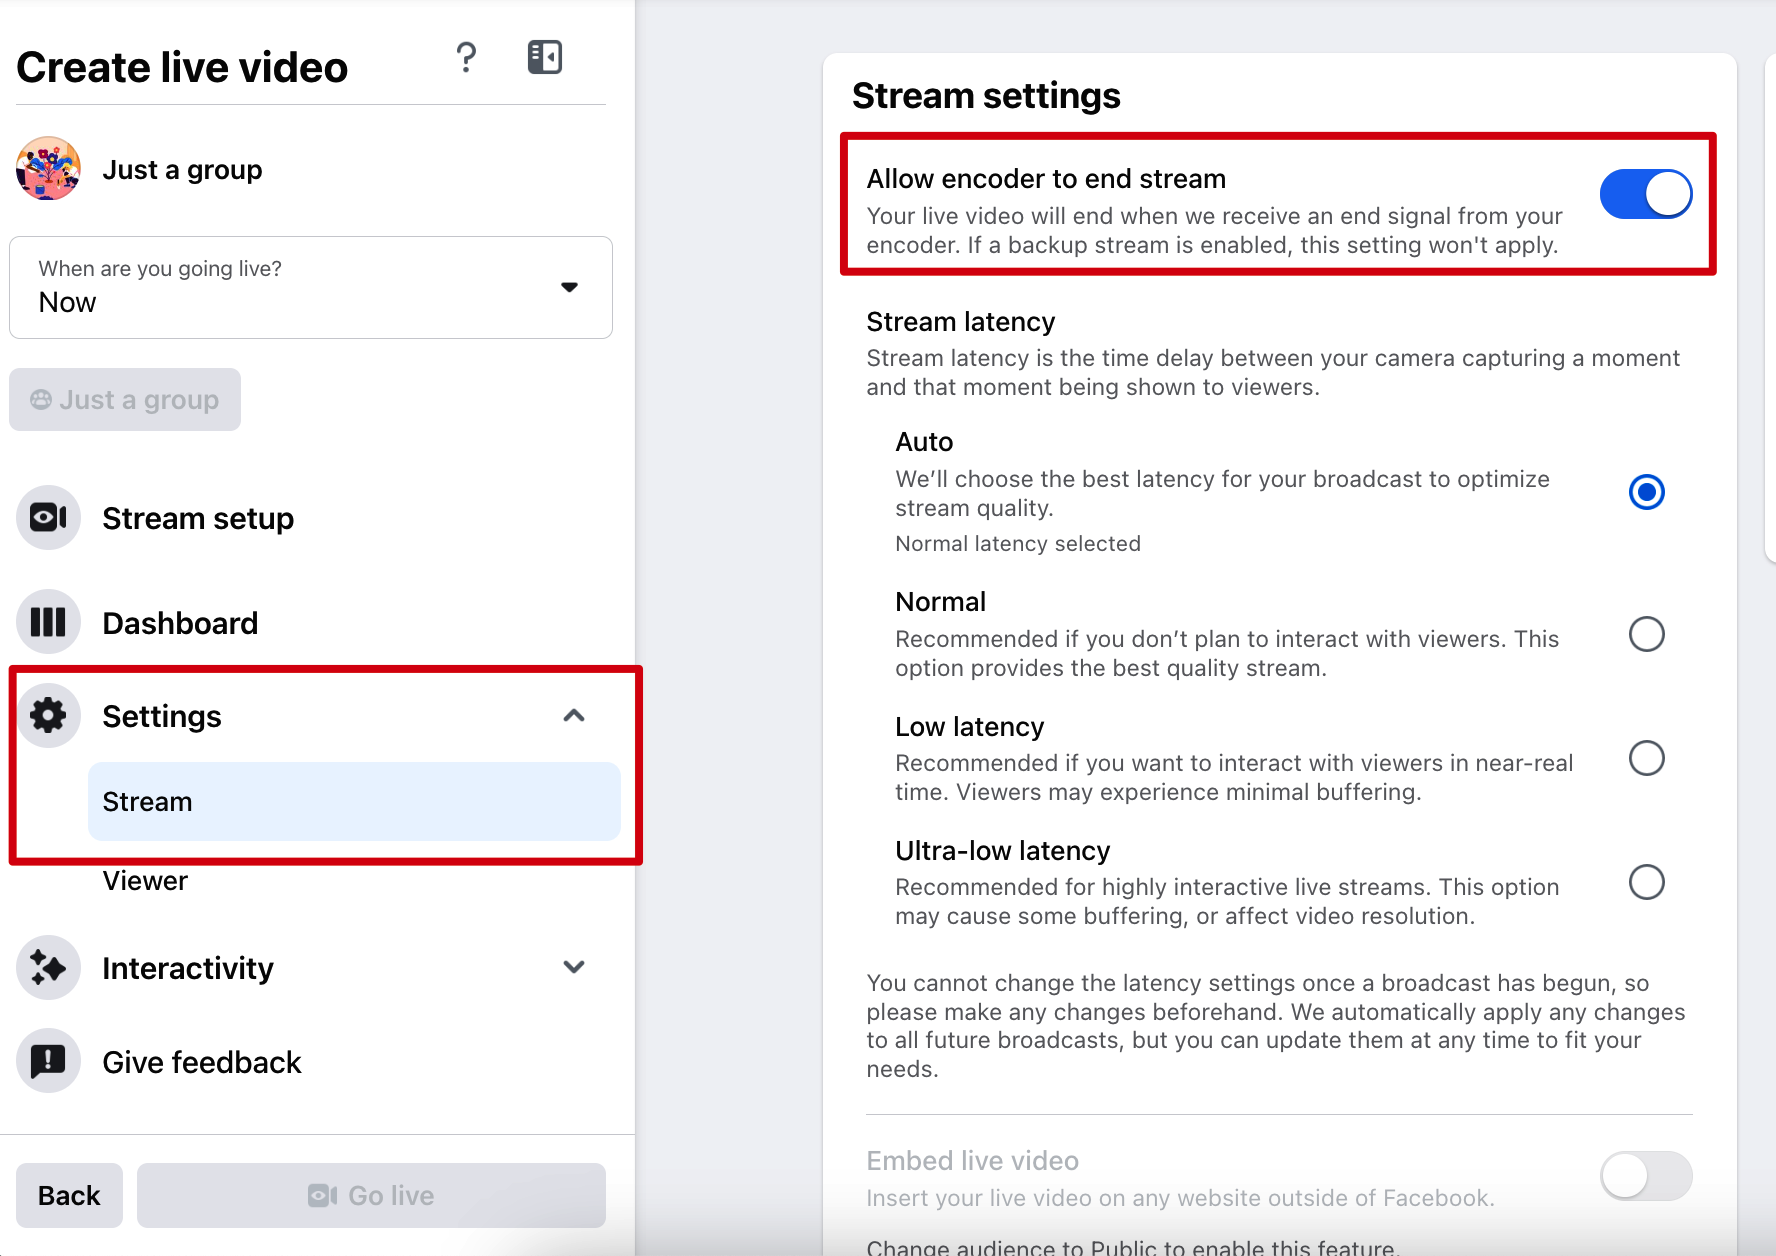
5. You can also enable the setting "Allow encoder to end the stream". This way, the stream will end on Facebook automatically once you end it in Be.Live.
Go to Settings -> Stream -> make sure you have the toggle Allow encoder to end the stream enabled.
Setting up a Facebook Group destination
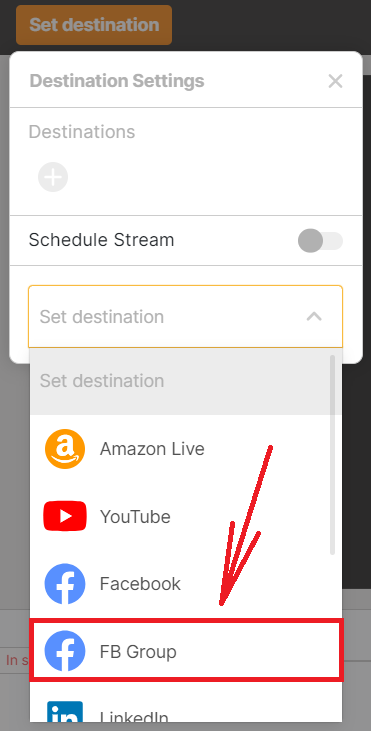
1. From the studio, click Set Destination.
2. Select Facebook Group as your destination.
3. Paste the Stream Key in the corresponding field. We pre-filled the Stream URL for you, so you don't need to change it.😉
4. Hit Save.
5. You're now ready to go live!
Starting/ending the broadcast
Once you're ready, click Start to begin your stream. A 3-second countdown will appear to signal the start of the stream. To end your broadcast, click the stop button.
Make sure you also start the stream directly on Facebook after starting it in the Studio.
When you're ready to finish your broadcast, simply stop it on Be.Live. If you don't have the setting "Allow encoder to end the stream" enabled, stop it on Facebook as well.