Learn how to stream to Amazon here, Instagram here, YouTube here Facebook here, and to LinkedIn here. To stream to multiple destinations simultaneously, click here.
Livestreaming plays an important role in TikTok’s success as it has numerous benefits for creating a personal brand or promoting your business. Using Be.Live Studio and its fascinating features will definitely help you to stand out among other TikTok streamers!
Requirements for going Live on TikTok:
- You must be at least 16 years of age — this is determined by your birthdate when you initially create your TikTok profile.
- You’ll need to have at least 1,000 followers to unlock the capability to go Live.
- You must be at least 18 years old to be eligible to earn Virtual LIVE Gifts from your fans, i.e. Diamonds, which can turn into real money while streaming on TikTok.
Quick recap of the key steps:
- Open TikTok native app on your phone
- Set up your live broadcast in the app, then copy Stream URL and Stream Key
- Go to Be.Live Studio and insert the URL and Key for your TikTok destination. Save it.
- Start your broadcast on Be.Live
- Go to the TikTok app and start your broadcast there too
Set-up
To go live, you need the following:
- The TikTok native app downloaded and installed on your mobile device. Download it for Android here, and for iOS here.
- Desktop computer or laptop
- The latest version of Chrome or Safari browser
- Web camera
- Stable internet connection to avoid lags and delays. We recommend using a hard-wired connection (ethernet).
- A pair of headphones to avoid echo and feedback
Setting your broadcast destination
Step 1:
Open your TikTok application.
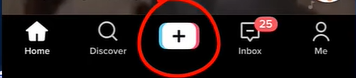
Step 2:
Then hit the tab “+” and swipe up until you find the live option.

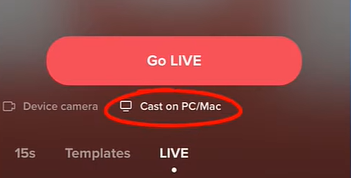
Step 3:
Under the Go Live button, click on the Cast on PC/Mac
Step 4:
After that TikTok will show you your Stream key and Source URL. You need to copy the URL and stream link which you will later insert in your Be.Live studio.
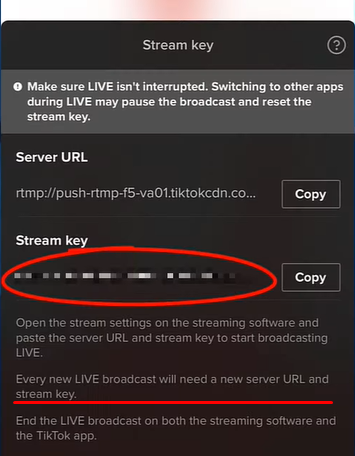
💡Tip: you can email yourself or share your broadcast credentials to your private messages on social media to have easy access to them on your computer/laptop, but please note that every new LIVE broadcast will need a new server URL and stream key.
Step 5:
Now it's time to head over to your Be.Live studio and set up a broadcast there.
Select the TikTok destination and insert the server URL and Stream key from the previous step and click on Save:
At this point, you can also create a simulcast broadcast and stream to different destinations along with your TikTok one.
Related article: How to Stream to Multiple Platforms (Multistreaming)
Step 6:
Now that your destination is set, click Camera from the toolbar to push your webcam to the staging section:
You will notice 3 buttons on the camera source:

-
Show in Stream toggle - pushes your camera source to the broadcasting section
-
Mute - disables your microphone (viewers stop hearing you)
-
Stop video - disables your camera (viewers stop seeing you)
Move yourself to the broadcast by clicking on the Show in Stream toggle.
Step 7:
After pushing your camera to the broadcasting section, click Start to begin your broadcast. A 3-second countdown will appear to signal the start of the stream. To end your broadcast, click the stop button:
❗Note: You should end the broadcast on both Be.Live and TikTok app.
That's it! You're ready to start streaming on TikTok! 💫
Related article:
How to Check Camera and Microphone Settings Inside the Production Studio