Overview
It's always a good idea to test a new platform to understand how it works and be better prepared for your upcoming show! Good news - you can check how everything in the Studio works without starting your broadcast by doing a test.
Testing the Be.Live studio
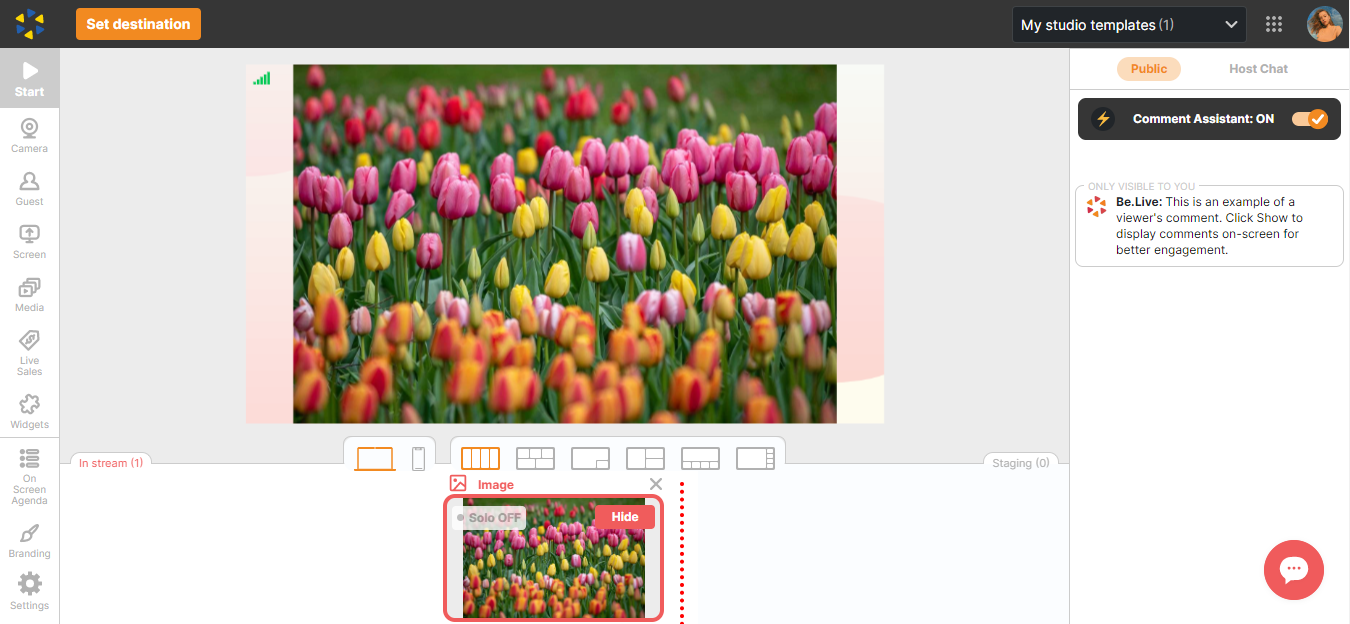
Firstly, open the Be.Live Studio. In the middle, you will see a preview window - this is what viewers will see once you go live. You can test all the features and immediately see what they would look like on the live broadcast.
Features
From the toolbar on the left, you will see a set of buttons each representing a feature or functionality:

-
Start. Starts or ends your broadcast.
-
Camera. Connects your camera to the Studio. Once done, you can test different camera resolutions and check if the mic and camera are working. You can find more details about the camera/mic settings here.
-
Guest. Allows you to invite a guest anytime before or during the broadcast. Here is an article on how to add a guest.
-
Screen share. You can check how screen sharing feature works and how your viewers will see it. There are a few options for screen sharing; you can see more details here.
-
Media. Upload images and videos from your computer or Facebook albums. You may also share an .mp4 video via link or share a YouTube video. Learn more about adding media here.
-
Live Sales. Do you want to sell your products? Then Live Sales is perfect for you! Here is a guide on how to use it.
-
Widgets. Extra features to make your broadcasts more fun. More information can be found here.
-
On-screen updates (Agenda/Text/Crawler). These updates will allow you to organize your broadcast content more efficiently. More information here.
-
Branding. Here you can select your custom branding: add a background, logo, theme, and overlay. All the changes will be visible in the broadcast area right after you apply them. You can check out this article for more details.
-
Stream settings. This setting allows you to easily select the HD or Full-HD quality for your broadcasts, enable or disable the manual guest approval, enable/disable the New Follower Celebration pop-up for Amazon, and check the Studio shortcuts. Learn more about the Full-HD streaming here, and the Shortcuts here.
💡 Useful tip: Drag and Drop functionality provides smoother transitions when changing the order or adding new sources to the stream.
Recording an offline broadcast
You can set your destination to Offline Broadcast and record your test stream and then download it to see what it looks like on the video. Once you set up your camera or any other video source, click Record, test different features, and finish the recording.
Your recording will be ready within an hour. Download it from My Streams page:
Testing is a great way to see yourself in action and ensure your mic settings are in check.
Testing with Facebook
If you want to test how broadcasting to Facebook works, you can go live to a separate private group or change the privacy settings so only you would see the broadcast. You can find more detailed instructions here.
Note: Due to RTMP protocol we use for streaming on Facebook Groups, some features might be limited. You can find more information here.
Testing with YouTube
With YouTube, select “private” or “unlisted” privacy for the broadcast in the destination settings and your live show will not be visible to your subscribers. You can find more information in this article.
Other things to know
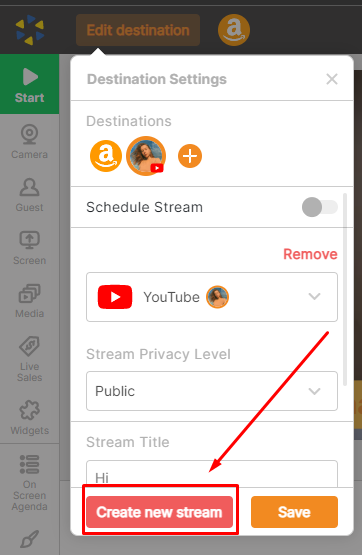
If you only see information from a previous broadcast and cannot start a new test, what should you do?
This is how the studio works. All past broadcast information (destination, title, description, etc.) is saved to eliminate the need to set it all up again for your next broadcast.
To start a new test, click the Create new Stream button to clear all past data. Don't worry - this button will NOT delete any of your scheduled broadcasts. It will simply reset the broadcast destination.