Want to announce your Amazon broadcast a few days in advance? Here are the steps on how to do it with the help of the Amazon Live app:
Step 1:
Download the Amazon Live Creator app. This software is needed for setting up and scheduling a stream to Amazon. Currently, the app is only available for IOS devices.
Step 2:
Log in to your Seller Central or Brand Registry account.
Related video: check out the complete YouTube overview of the process here.
Step 3:
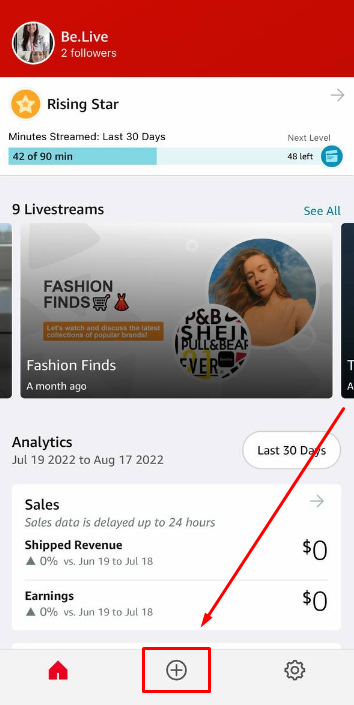
Create the Show using + Button at the bottom of the screen.
Step 4:
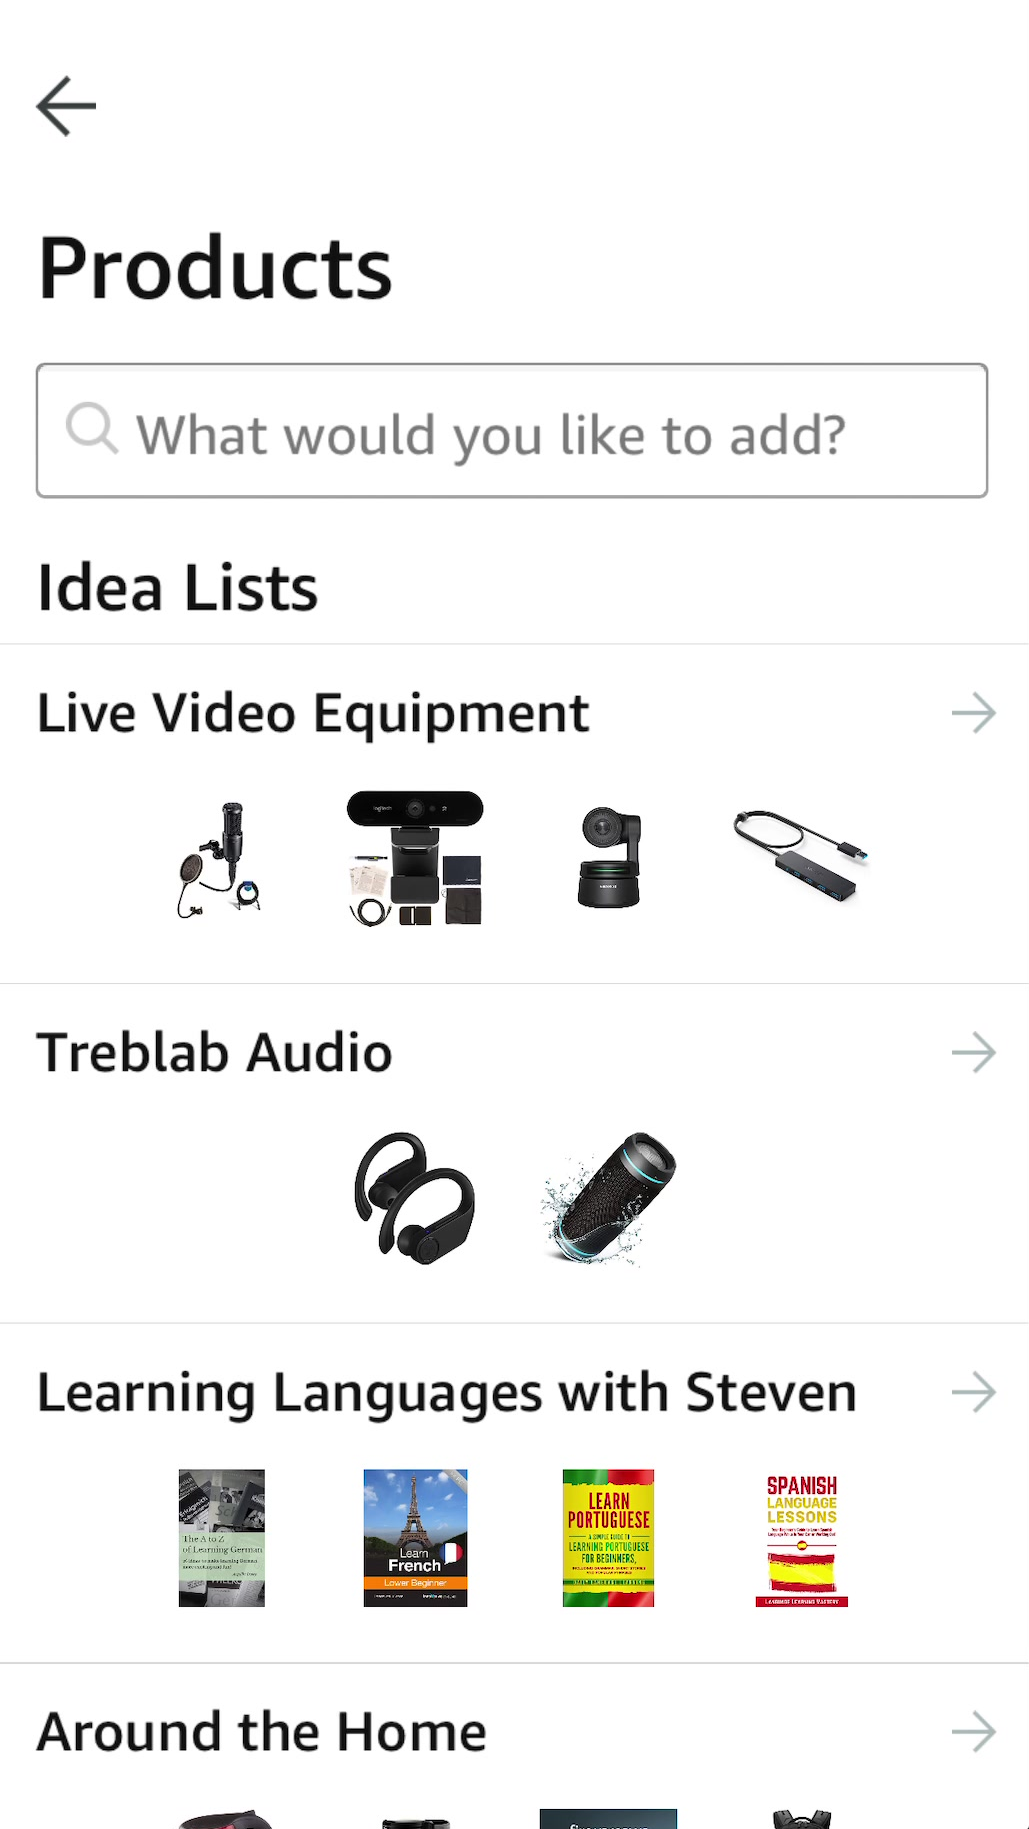
Add a show card and a title. Here you're required to add your show's cover image, products that you want to advertise, and the title of your stream.
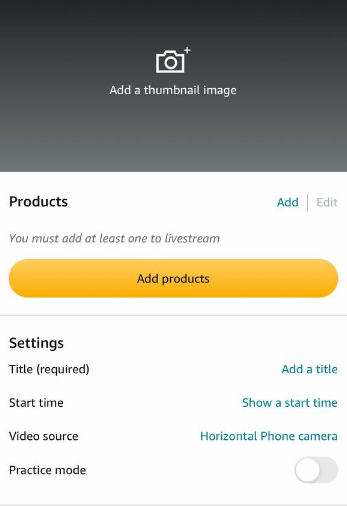
Note: you can create Idea Lists to simplify and categorise the products that you are going to advertise.
Step 5:
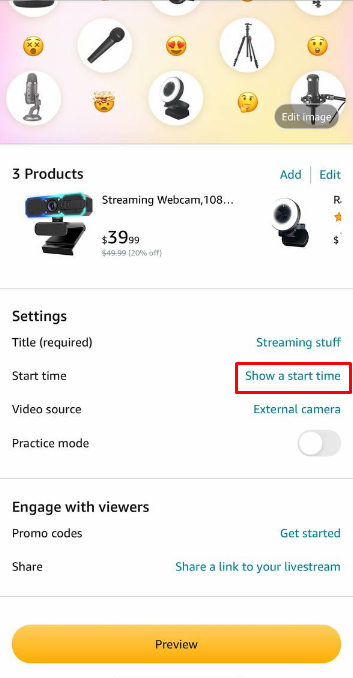
After adding all the show info, it's time to schedule your broadcast! Click on the Show a start time button, enable it by moving the toggle, choose the desired date and time for your show, and hit Save.
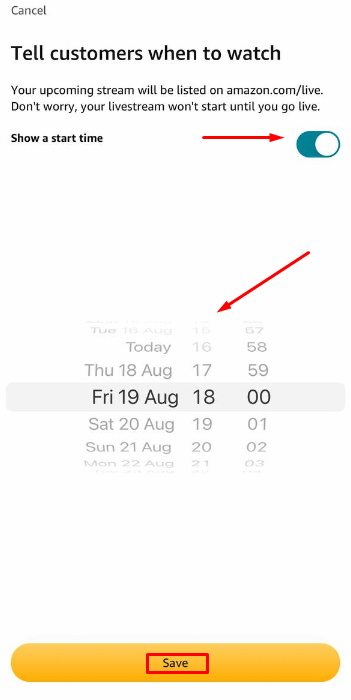
After clicking the Save button, you will see a preview window with the information about your broadcast. You can change the picture, title, products, and scheduled time at any time before you actually go live.
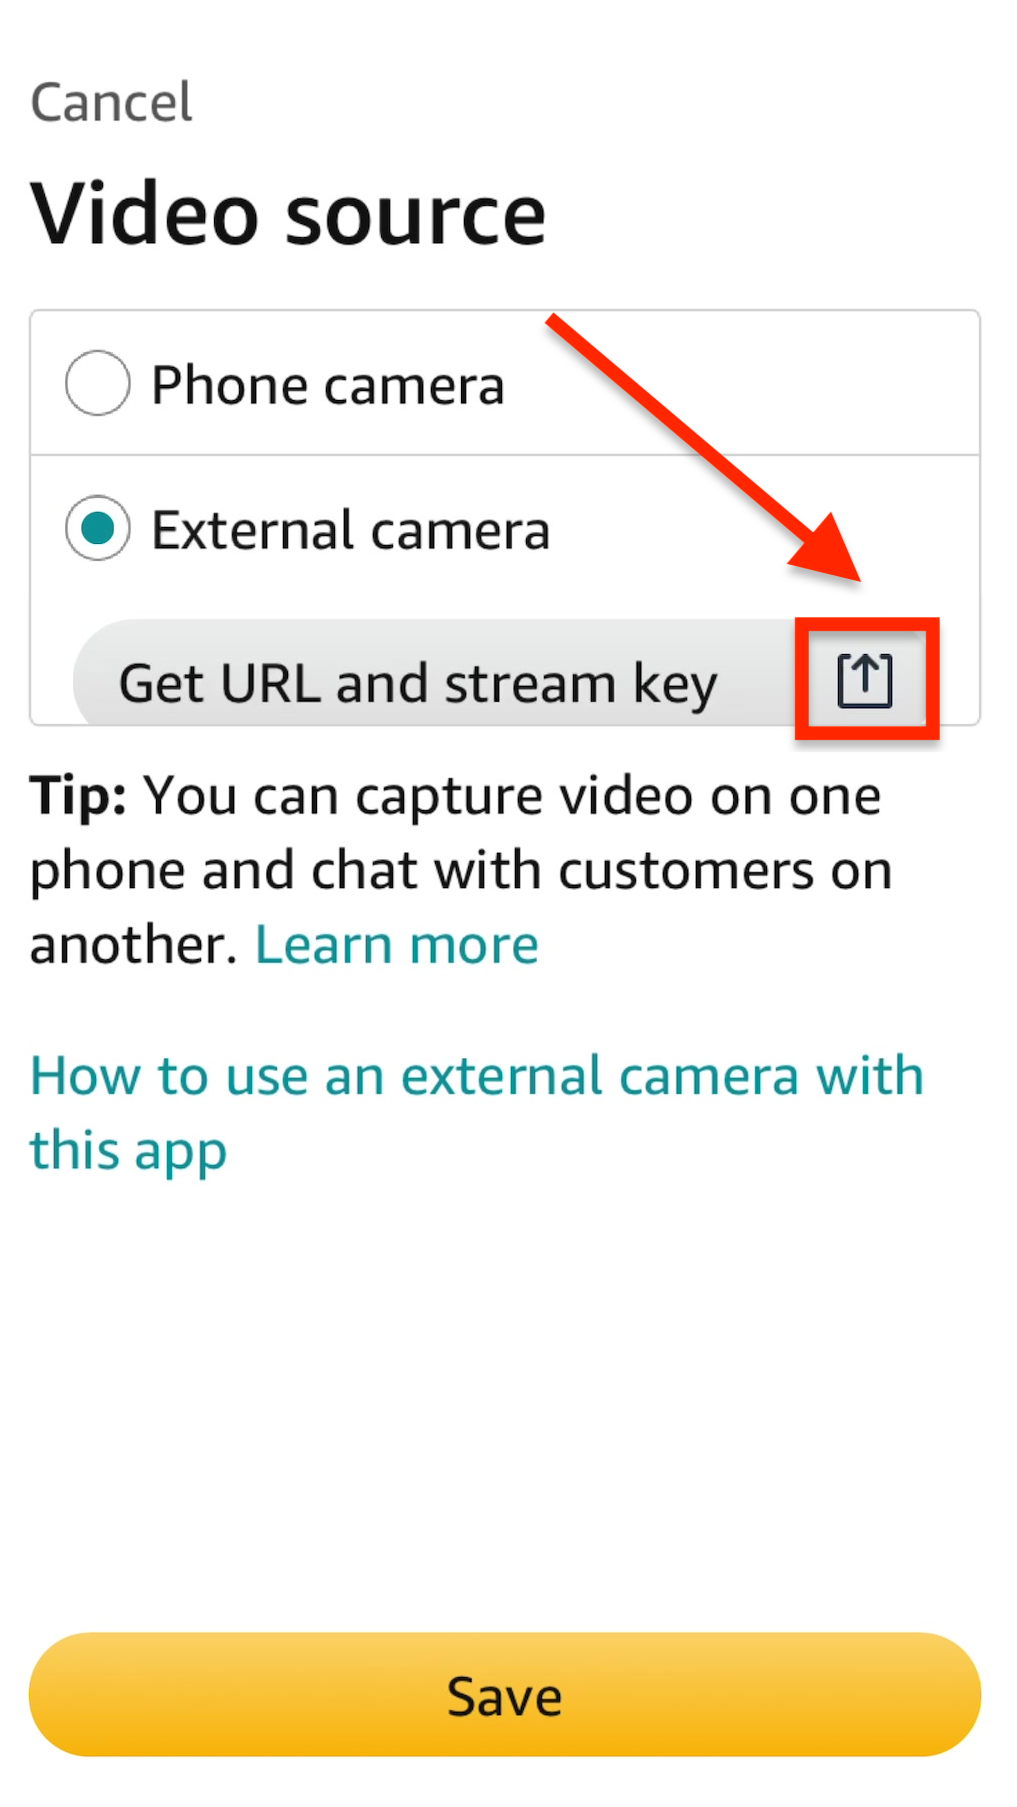
Step 6:
Switch from the phone camera to an external source. At this point, you need to copy the URL and stream link which you will later insert in your Be.Live studio.
💡Tip: you can email yourself or share your broadcast credentials to your private messages on social media to have easy access and get back to them anytime, as the Stream URL is already integrated into the Studio, and Stream Key doesn't change.
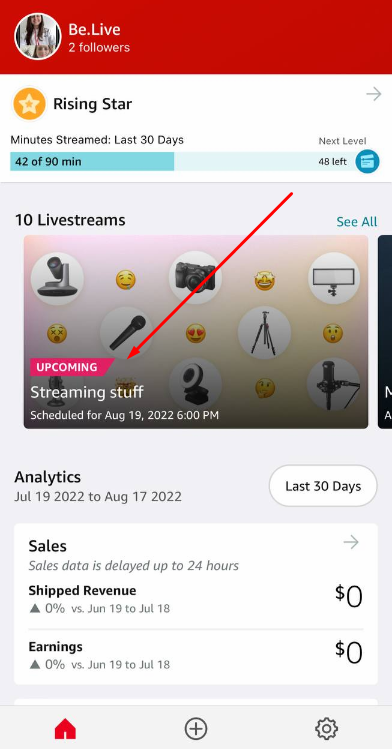
That's it! You've already scheduled your broadcast on Amazon:
Will my scheduled broadcast go live automatically?
No. It only serves as an announcement to your viewers about an upcoming broadcast. You need to start it manually from the Be.Live Studio and then from the Amazon Live app.
How do I start my scheduled broadcast?
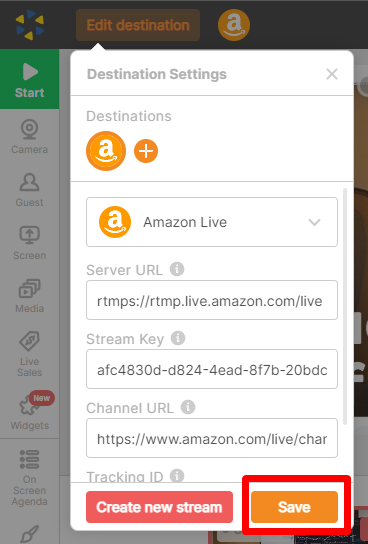
1. When it's time to start the show, you need to head over to your Be.Live studio and set up a broadcast there.
Select Amazon Live destination, insert the Stream key and the Channel URL (learn how to find the Channel URL on Amazon here), and click "Save".
At this point, you can also create a simulcast broadcast and stream to different destinations along with your RTMP one. Learn how to do it here: How to Stream to Multiple Platforms (Multistreaming)
This article will guide you through the process of creating/finding a Tracking ID on Amazon.
2. Go back to your Amazon Live app and click on Preview —> Go live.
How do I schedule and start a stream to other platforms along with Amazon?
-
Log in to your Be.Live account using the latest version of Google Chrome or Safari.
-
Click Set Destination on the top left section of the studio.
-
Enable the Schedule Stream toggle.
-
Set your intended broadcast date and time (the one you've already chosen for your Amazon broadcast). You may schedule a broadcast up to a year in advance.
-
Select your broadcast destination. Select Amazon, Facebook (for timeline or any page/group that you manage), YouTube (make sure to verify your YouTube account first). LinkedIn can also be added as an additional destination, but no announcement post will be created on the LinkedIn profile or organization.
-
Add a broadcast title and description (this won't affect Amazon title).
-
To add another destination, click the plus button (+) and repeat Step 5. (Note: You can have up to 5 destinations at the same time on the paid plans.)
-
Hit Save.
Related article: How to Schedule a Stream to Multiple Platforms (Multistreaming)
You can schedule several broadcasts on Be.Live. To do so, simply press Create new stream when you're checking destination settings and set it up using the instructions above.

Once it is time to go live, go to the Be.Live Studio:
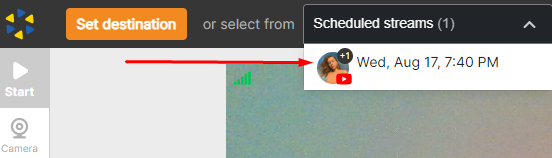
1. Click Scheduled streams and select the broadcast from the dropdown menu:
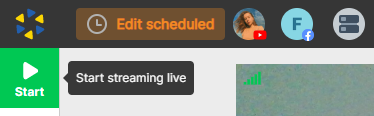
2. Make sure that you have at least one source added to the stream and click the green Start button in your studio.
3. Go to your Amazon Live app, find the scheduled stream, and click on Preview —> Go live.
Now you will be live not only on Amazon but on other desired platforms!
Related articles:
How to Schedule a Facebook Broadcast
How to Schedule a YouTube Broadcast
How to use Graphic Generator for creating a custom cover image for your scheduled broadcasts